Brief Description: Oxygen Tank Installation Complete - Part 1
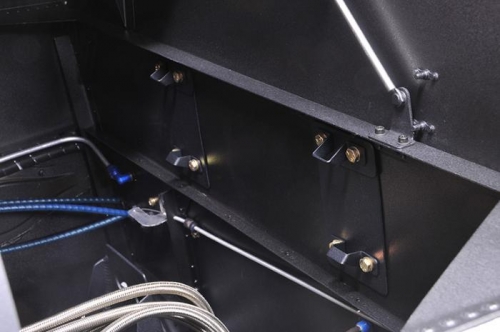
The Oxygen Tank mounts went back together pretty nicely. However, I forgot that you really need to install the metal loops before you bolt the angle brackets down. You can get the loops in afterward, but its a lot more work and I had to grind the screw heads a little bit. Not to mention a couple little scratches here and there (not noticeable after the loops are in). But, it is kind of a bummer because it means that the large metal loops are kind of a permanent affair even if the oxygen tank is removed. Kind of limits the baggage area. Also, I'm scared to try and fit the baggage area floor skin back in with the loops there. I'm recalling that I couldn't get it in with all of the avionics on the bulkhead and the loops installed. I'm just going to stick my head in the sand for now. Worst case, I'll have to unmount the angle mounts to get the floor skin in. But I don't really want to put the floor skin in until after I'd had a chance to leak-test both the fuel lines and the brake lines.
Note to MH, the manufacture of the Oxygen System: Make Those Metal Loops Removable Without Unbolting The Angle Brackets!
Oxygen Tank Angle Mounts Bolted
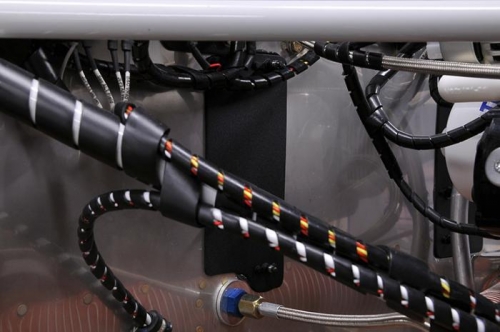
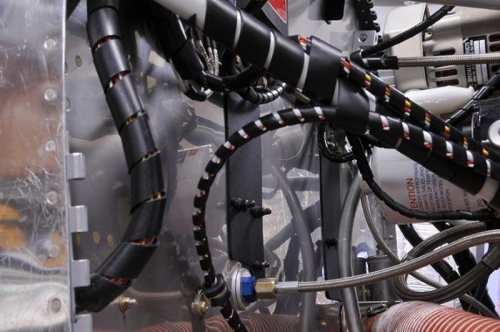
Engine Side - Oxygen Tank Renforcements With Platenuts
Engine Side - Oxygen Tank Renforcements With Platenuts