Brief Description: Canopy Tee-Rail Installation - Part 2
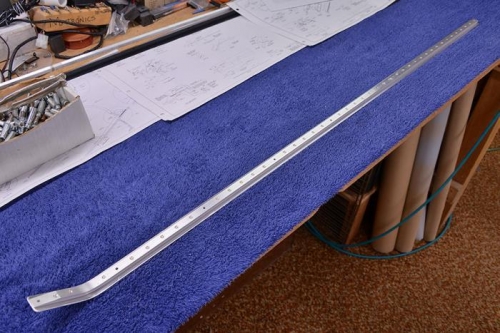
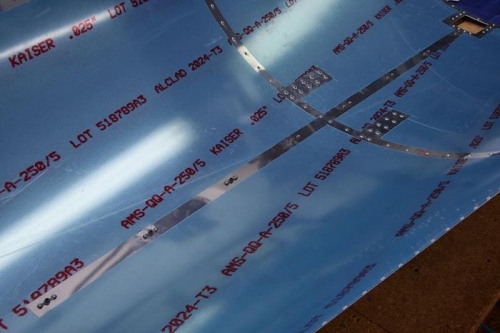
On Ruby 1.0, I followed the plans and installed the 4' long aluminum tee-rail with #6 screws with nuts and washers on the inside. This later proved to be quite a pain because its nearly impossible to get to the last two or three nuts once the plane is finished. At one point, I had wanted to removed the tee-rail and make some modifications and re-powder coat it, but it was just too much work to try to get to those nuts. SO, on Ruby 2.0, I decided to install #6 platenuts all along the length of the aluminum tee-rail! Now I can remove the tee-rail by just unscrewing the screws! Nice!
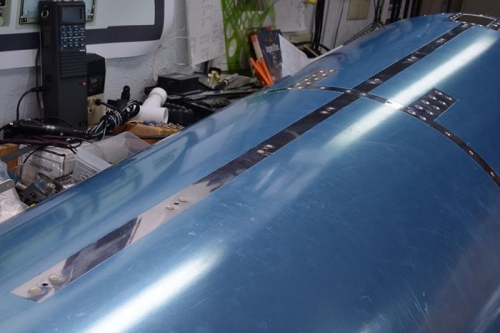
So, even though it seemed like the whole process was just trying to drive me crazy, I am exceptionally pleased with both the aesthetics and action of the new canopy tee-rail system. Works like a champ!