
|

|
|
|
Matt Dralle's RV-8 Project
|
Date: 6-22-2013
|
Number of Hours: 2.00
|
Manual Reference:
|
Brief Description: Canopy Skirt Fitting & Mounting - Part 01
|
|
I am exceptionally happy to report that Canopy 2.0 on Ruby 2.0 is finally complete! It definitely came out better than the Canopy 1.0 and 2.0 on Ruby 1.0 and I am generally very pleased with the fit and finish. If I could just do a Canopy 3.0, I know it would be perfect. Sigh. But, all things considered - like how incredibly hard this whole canopy process is, it is frankly amazing I got it as good as I did in only two tries on this rebuild. The countersinking on the screws came out pretty nice, but not quite as good as I was hoping. The right side (done second) definitely looks a lot better than the left side. I was debating - and hoping - that I would only have to gelcoat the exterior fiberglass skirts and do it with the screws out so that I could leave the screws accessible even after painting. But, I think to get that really pro look, I'm going to have to glue the screws in, then gelcoat over them along with the exterior of the fiberglass skirts with a final sanding to smooth over everything. Then again, maybe not. I don't know. I haven't decided for sure yet. Guess I've got time to decide. Anyway, it is nice to put this job to bed. This is easily the hardest, most frustrating, and potentially expensive part of the whole airplane construction process.
Next, I move on to a metal bezel over the front arch of the sliding canopy, then onto mounting the windshield and fabricating a large bezel for that. Fortunately, I saved the templates for these from Ruby 1.0, so hopefully these will give me a leg up on this process.
|
|

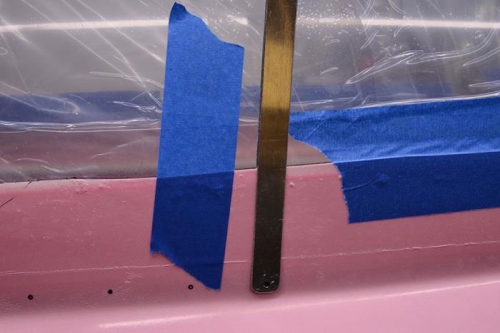
Skirt Fitting
|
|
Hole Duplication Tool
|
|
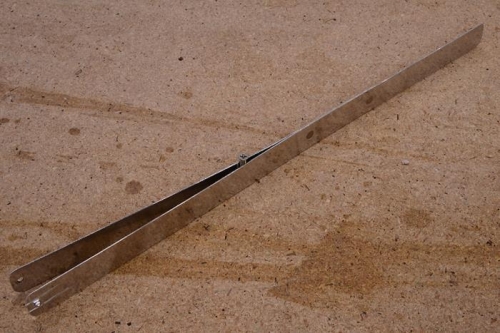
Hole Duplication Tool
|
|
|
|
|
|
|
|
|
Copyright © 2008-2024 Matt Dralle. All Rights Reserved.
|