
|

|
|
|
Matt Dralle's RV-8 Project
|
Date: 1-4-2014
|
Number of Hours: 2.00
|
Manual Reference:
|
Brief Description: Remounting Engine & Cowling - Part 02
|
|
Today I Prosealed the heater control vent to the firewall, and also the left and right NACA vents to the inside of the fuselage. Then it was time to wash the top and bottom cowlings and give them a trial fit. I've been dreading this fitting since I started the rebuild. If they didn't fit, it would set me back another couple of months or more with the fitting, cutting, and finishing involved in making a new cowling. I did have mixed feelings about the process. On one hand, I kind of wanted to just make a new cowling because I'm sure it would turn out better like everything else has that I've redone on this rebuild. But on the other hand, I really didn't want to take two more months or more making a new one.
So the cowling went on tonight. Amazingly, I am very happy to report that it fits nearly perfectly! Frankly unbelievable, and pays homage to Van's pre-punched technology. If this had been a non-prepunched RV, like my RV-4 or the RV-6, there is NO WAY I could have redone this cowling so easily. The holes for mounting the hinge strips would of had to of been redrilled and most certainly wouldn't have been in the same place which would have caused an avalanche of other alignment issues such that the cowling would have been unusable, at least by my standards. But because the prepunched fuselage is so exactly close in dimensions to each other, I was able to just reuse the old hinge strips which brought my alignment right where it was on the old fuselage. Frankly, amazing!
Cont. Next Log...
|
|
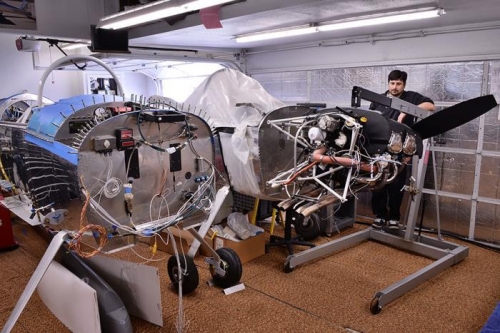
Engine off!
|
|
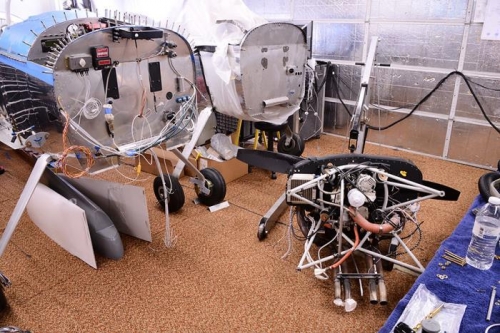
Engine awaiting a few last minute tweaks the the new fuselage.
|
|
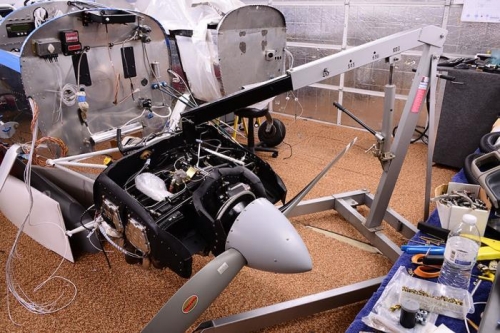
Engine going up on the new fuselage.
|
|
|
|
|
|
|
|
|
Copyright © 2008-2024 Matt Dralle. All Rights Reserved.
|