Brief Description: Windshield Bezel Complete - Part 01
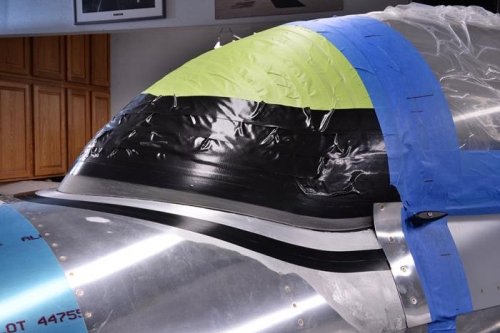
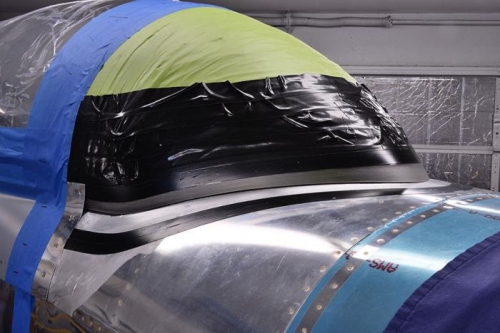
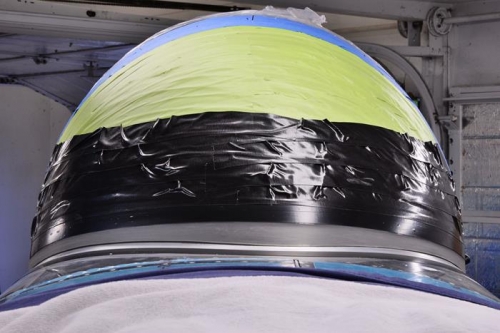
Here are the complete photo sequences for the new Fiberglass windshield bezel for the RV-8 Rebuild. Towards the end of the set, are some shots from today that detail the second lay up I did to cover the spot in the center where I sanded through the fiberglass all the way to the Plexiglass last weekend. I retaped the whole thing again and added another 4 or 5 layers of cloth and black-dyed resin last weekend and then this weekend took to resanding, this time being much more careful about not getting the bezel too thin in the center. I also did about 4 layers of black electrical around the windshield to give me a slightly thicker bezel at the top too.
I am VERY happy to report that today's sanding yielded a nearly perfect bezel!! I am very pleased with the lineality and uniformness of the bezel all the way around. Best of all, I didn't sand though anywhere I didn't mean to!
Next I'm going to add the top layer of black tape back again (I sanded down to and through it) and then add a thin coat of resin+dye to seal it all up. Tomorrow I'll carefully sand that smooth and call this bezel complete for now! I will have the body shop guys add a coat of gel coat and primer along with the wheel pants and cowling. When they are done with that, Ruby Vixen 2.0 is officially complete! I will move it out to the airport, put the wings and tail on, bleed the brakes, and fly it! Yahoo! It took me only 23 months to build the whole plane the first time, but this rebuild has literally been a 4-year adventure... I'm ready to fly it!