Brief Description: Canopy Part Duex - Cutting & Drilling - Part 1
I smoothed all the edges of the canopy and then did the windscreen/rear-canopy cut. It came out nearly perfect with only a little bit of crookedness. I was able to remark the windscreen and get a nearly perfect match up between the front and back.
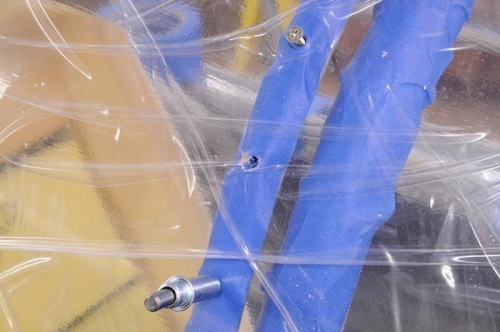
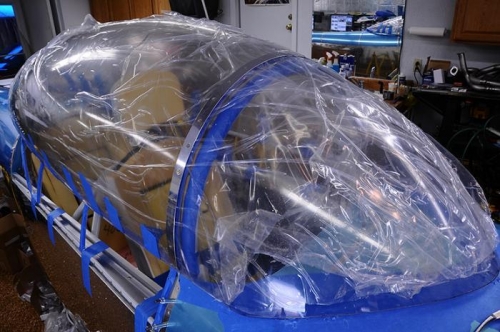
Next I put the rear canopy up on the frame and taped it into place and then proceeded to put each of the all-ready-been-cut-and-drilled side skirts on. At first it looked like there was no way the screw holes were going to align. Then I noticed that the sides of the Plexi were bowing out. I pulled them in toward the frame with more masking tape and magically, all of the holes lined up! I carefully started adding screws along the top of the canopy where the windscreen matches up, and then down around the side and then back toward the tail. I did about 5 screws on one side, then went over and did 5 screws on the other side. By the time I got all the way around to the back, everything was perfectly aligned and there were NO CRACKS! YeaaaH!
Of course I tried out the Back and Front seats with the canopy closed and made a few airplane noises! Wow! How exciting! It really feels like an airplane now. I had a real sense of being able to see the end of the project at this point. Even more exciting.