
|

|
|
|
Matt Dralle's RV-8 Project
|
Date: 3-14-2009
|
Number of Hours: 0.10
|
Manual Reference:
|
Brief Description: Canopy Part Duex - Cutting & Fitting - Part 2
|
|
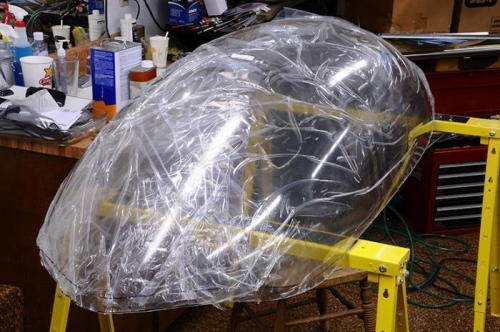
It took about 2 iterations on the rear part of the canopy to get it cut down to the right size, and about 4 iterations on the front windscreen portion. Every time I took the canopy on and off, I cringed thinking that I might scratch it or somehow break it. This time, however, I used two to three layers of masking tape over all the areas that the Plexiglass touched and also just left all of the protective plastic on the whole time. As yet, I haven't completely removed the plastic. I'm just going to wait until I'm ready to paint the frame and skirts and remove it just before the final assembly. Any scratches will be quite a surprise at that point but it will be too late to cry about it.
On the first canopy when I drilled all of the holes, I drilled both the Plexi and the under frame at the same time. This made alignment pretty easy. This time, however, the frame was already drilled. I would have to drill through the Plexi and hit the holes underneath perfectly! I was concerned that the optical distortion of the Plexi would make it nearly impossible to accurately drill the holes. Think about looking into a pool of water and how things aren't where they seem. In practice, however, the optics of the canopy are excellent and I was able to drill the holes perfectly! The non-distortion of the Plexi is probably why Van's canopies cost so much... I hope.
|
|
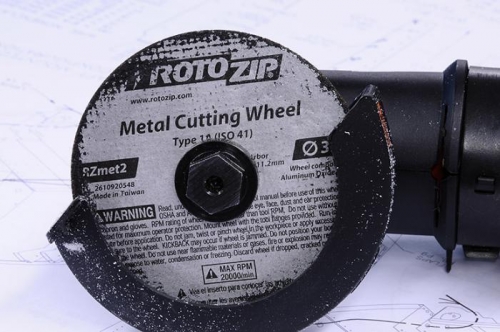
RotoZip Metal Cutting Wheel Works Great On Plexi
|
|
Flange Cut Off
|
|
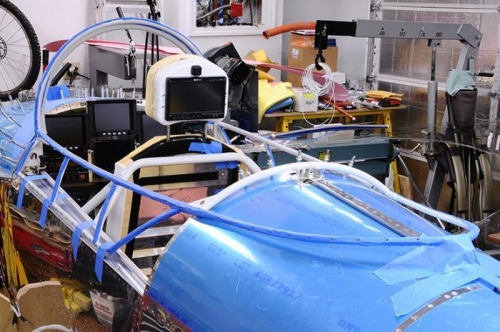
Canopy Frame Taped
|
|
|
|
|
|
|
|
|
Copyright © 2008-2024 Matt Dralle. All Rights Reserved.
|