
|

|
|
|
Matt Dralle's RV-8 Project
|
Date: 10-26-2009
|
Number of Hours: 2.00
|
Manual Reference:
|
Brief Description: Engine Baffle Finishing And Riveting - Part 1
|
|
In preparation for power coating, all of the engine sheet metal baffling had to be removed from the engine, holes drilled out to 1/8", deburred, edges filed round, surfaces sanded, and assemblies riveted. I used an orbit sander with 80 grit sandpaper wheels to put a nice finish on all of the surfaces. This will allow the power coat to stick much better. There are a lot of little pieces to be sanding with a giant electric orbit sander, but I slogged through it. My hands felt like they were buzzing for an hour afterward. After all of the pieces were deburred and edges filled smooth, it was time to rivet the pieces together. There are basically four assemblies - right rear, left rear, front right, and front left. This allows them to be relatively easily removed from the engine as necessary. Riveting went pretty well all things considered. I was able to use the pneumatic squeezer for all but about a half dozen of the 1/8" rivets. The remaining ones I did with the hand squeezer. Once the riveting was done, I gave all of the assemblies one last trial fit on the engine and was pleased that everything still fit alright.
So now all of the engine baffling assemblies and misc. pieces are now ready to go to the power coater. I'm going to give "Maas Brothers" a try over off of Vasco Road in Livermore. I'm curious to check out their operation and see if they will be able to handle the interior power coating and spray painting tasks.
|
|
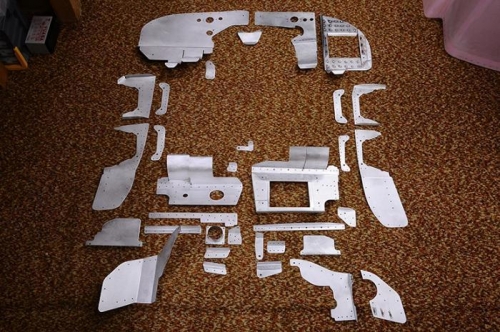
Engine Baffle Pieces Finished
|
|
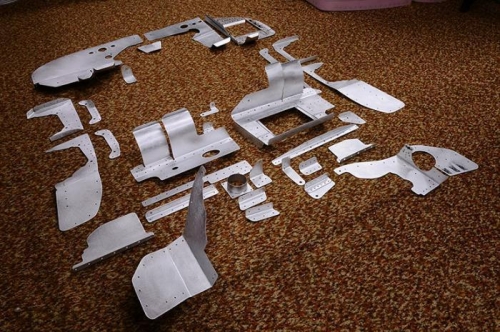
Engine Baffle Pieces Finished
|
|
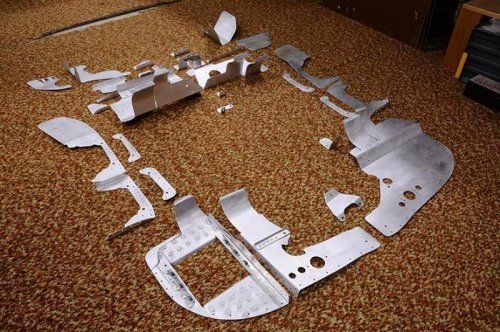
Engine Baffle Pieces Finished
|
|
|
|
|
|
|
|
|
Copyright © 2008-2024 Matt Dralle. All Rights Reserved.
|