Brief Description: Gretz GA-1000 Heated Pitot Installation - Part 2
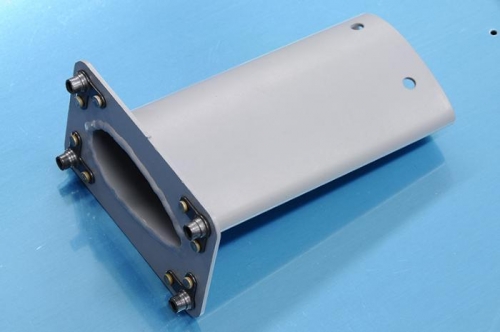
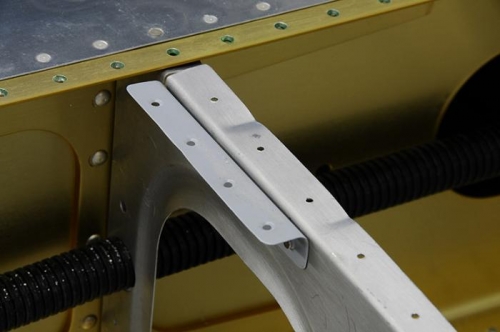
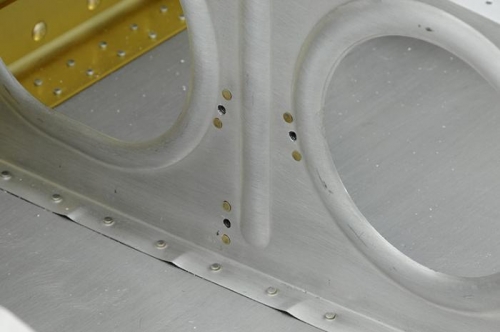
I started the installation in the left wing today and am happy to report the installation came out very nice. There were a couple of brackets to be made and some filing on the black pitot tube itself to get it to fit into the airfoiled mount. An airfoiled hole had to be cut into the bottom skin in just the right place to allow the mount to fit through the skin and also so that it could be removable. There is a small PC Board with the circuity to sense the temperature and switch the heater element on and off. I mounted this PC board onto a rib with excellent access through one of the access panels under the wing.
There is also a small PC board with three LEDs that you are supposed to mount to the instrument panel. The three LEDs give you status as to when the heater element is on and off and if the pitot is considered at the right temperature. My plan is to run these three signals to the Vertical Power VP-200 display unit and use the built-in Annunciator functionality to display the Pitot status. This saves some panel space and eliminates some additional silk screening that would be necessary around the three LEDs.
I ran plastic tubing out to the installation bay for the pitot line, but discovered in the installation manual they recommend at least 6-8" of metal tubing be attached to directly to the pitot to make sure that the heat from the heater element doesn't melt the plastic. So, I fabbed up a nice aluminium tubing header and it actually worked out pretty well.
The whole thing came out very nice and I'm very pleased with the look and functionality.