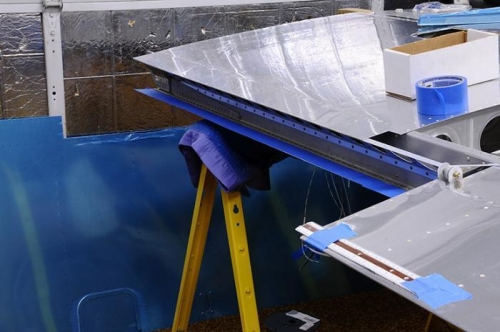
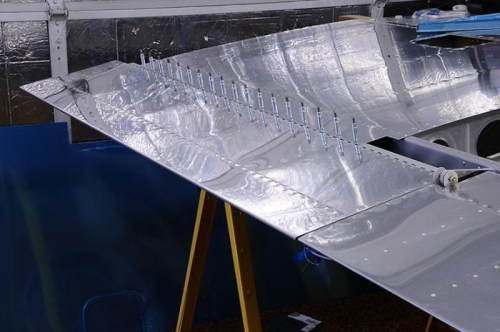
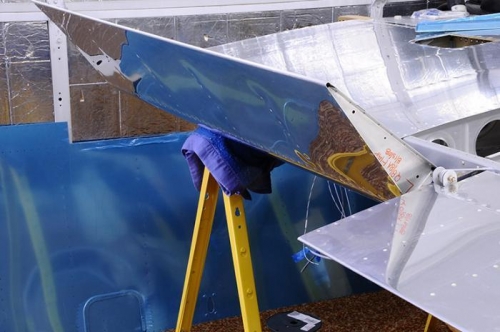
Mounting the flaps went surprisingly well. There is a single, long, piano hinge along the leading edge of the flap that rivets directly to the trailing edge of the wing. The holes are pre-drilled in the wing and flap brace and so its pretty easy to just slide the hinge from the flap right between the two and use the pre-drilled holes to drill the hinge. You have to make sure that the trailing edges of the aileron and flap are perfectly aligned and that there is at least a 3/16" gap between the flap and the aileron. Once again, its kind of a trick to hold the flap up in the right position holding perfect alignment while trying to drill and cleco all at the same time. But, alas, both the left and right flaps came out perfect and the action is smooth and non-binding. I cut the hinge pin for each flap into two equal pieces and removed three hinge eyelets from the center of the flap. This allows each half of the hinge pin to be slid in from the center outwards or inward as the case may be. The other advantage of this method is that a shorter hinge pin is a lot easier to push through all those eyelets. I then drilled two tiny holes next to each other where the hinge pins will be safety wired together to make sure they don't come out.